Arts Integration Supply Review: Liquid Watercolor
4 Min Read • Arts Integration
One of the struggles I see for many people looking to use arts integration or STEAM is in what supplies they should use. Today, I’d like to share one of the many mediums that I have found to be really successful in my integration lessons: Liquid Watercolor.
Liquid watercolor is amazing! I will go over their pros and cons, teacher tips from an art educator, and techniques for using them in your lessons today.
We all know what causes most classroom watercolor pallets to meet their untimely demise. In addition to becoming dried out and kind of gross, there is always that kid who takes a brush and runs it through one color after another until each vibrant square is left a muddy mess.
Now, I don’t blame that kid. I was that kid. Not because I wanted to misbehave, but because I wanted to observe what was happening. I loved watching one color run into the other and swirl into yet another one. No, I don’t blame kids for being full of inquiry. Experiments should be encouraged!
But… in order to be able to keep using our wonderful supplies, we must take care of them. We, as teachers, also have to foresee this cross-generational instinct to mix colors and make it work for us, not against our supplies. Mixing colors is one of the most gratifying activities when it comes to painting. Instead of discouraging this behavior, include it in your lesson. Students love to help, so ask them to help create a wide range of different colors when you begin setting up. Below you will find my Teacher Tips for this and other ways to use liquid watercolor in your arts integration lessons.
Pros:
- Color Range: Large range of colors and can be mixed easily. The possibilities are endless!
- Cost efficient: Liquid watercolor come in long-lasting, concentrated bottles of dye-like paint. The more water you mix with the watercolor, the lighter the color
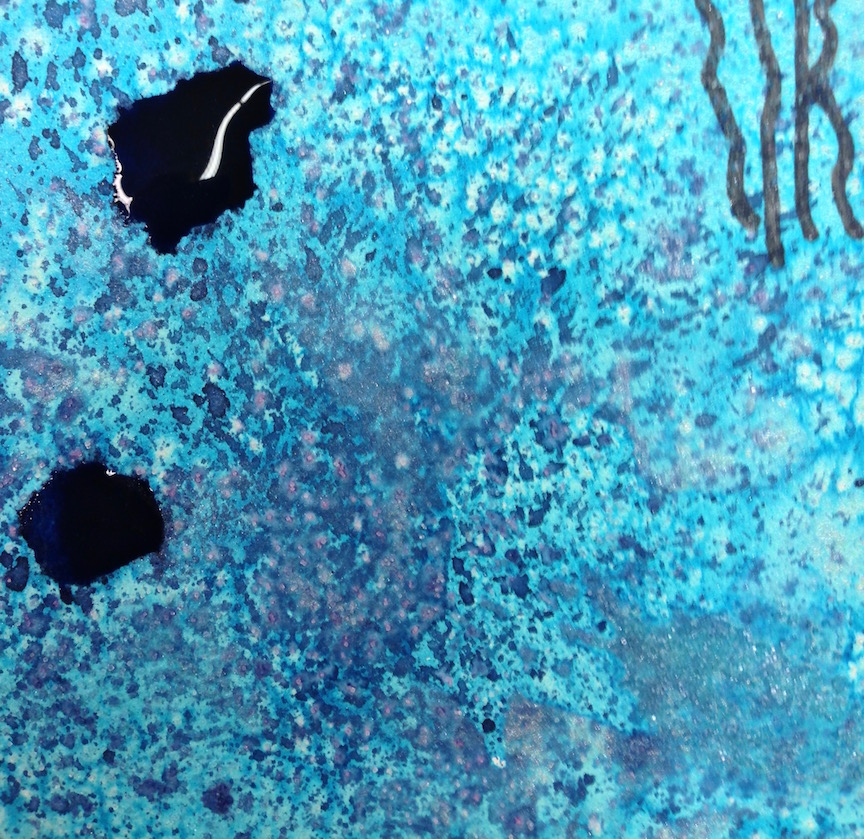
- Metallics and Glitter: Comes in metallics like pearl, gold, silver, and bronze. They can be used alone or mixed with colors.
- Easy to Use: No water cups required. Put 2 brushes in each paint cup. 1 small and 1 large bristle brush for each cup. Add brushes as needed. No need to rinse brushes between use.
- Easy Clean-up: Paint easily washes off brushes and cups. When finished, put all paintbrushes in a large cup of water or bin and clean all brushes at once. Place lids on the paint cups filled with watercolor, and store.
Cons:
- Temporarily Stains Skin: Washes off eventually, but you will be colorful for a bit.
- Temporarily Stains Table Surfaces: Difficult to wash off tables. Look at Teacher Tips for advice.
- The Black is not very dark, even in concentrated form. Complement with black markers or permanent markers
- Red is sometimes a little pink in hue
- Do not recommend neon colors. Gooey and yet thin at the same time.
How to Get Started:
- Place a little bit concentrated watercolor in no-spill cup, add water. Remember, the more water added, the lighter the color will be. Add drops of other colors to create a color of your own!
- Put brushes in paint cups and begin!
ART TEACHER TIPS:
- Mixing complementary colors together will result in brown or grey. (Complementary Color Combination are: Yellow/Violet, Blue/Orange, Red/Green)
- Place paper or plastic under your painting to eliminate temporary surface stains.
- Explain to students that the brushes think of the cup as their “home” and they may take trips to your paper, but always want to come back “home.” This will cut down on the possibility that students will accidentally mix colors.
Techniques and Arts Integration Connections

Salt
Materials:
- Liquid Watercolor Paints
- Iodized Table Salt
- Containers for Salt
Process:
- Paint a section of a paper.
- Sprinkle salt on wet paint
- Let the paint dry with salt
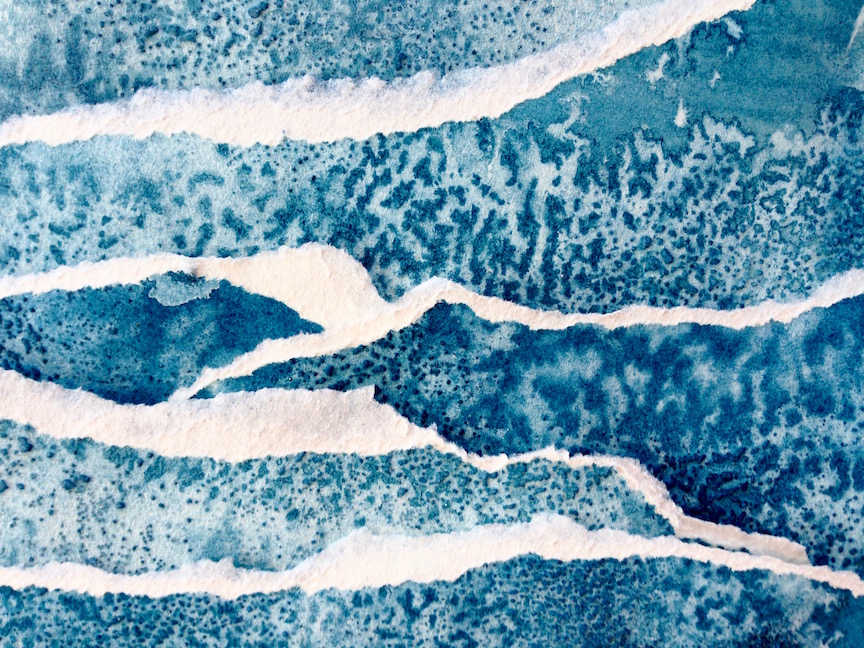
- Brush salt away and reveal star-like bursts.
- Some salt may dry with the paint creating physical texture or a rough surface.
Art Vocabulary:
- Visual Texture: How something looks like it might feel.
- Physical or Actual Texture: How something feels.
Arts Integration Connection:
The salt technique is a scientific process and has a strong chemistry connection that is perfect for night skies, drawn constellations or moon phases, underwater scenes, or any scientific drawing.
Recommended Lesson: Artful Thinking Science or Textured Fireworks

Splatter Painting
Materials:
- Liquid Watercolor Paints
- Toothbrushes
Process:
- Instead of paint brushes, use toothbrushes!
- Dip toothbrush in the paint cup
- Holdover the paper and flick the bristles to create paint splatters
Art Vocabulary:
- Pattern: Repetition of an element, such as color or shape. Creates a visual rhythm.
- Rhythm and Movement: Using elements such as color or shape to make the suggestion of movement or motion
Arts Integration Connection:
Splatter Painting can be used to add movement to painted objects, but also decorate papers for weaving, collage, and paper sculptures.
Recommended Lesson: Patchwork Flag or Shape Shifter
Spider Painting
Materials:
- Liquid Watercolor Paints
- Straws cut in half
Process:
- Place a drop of paint on your paper
- Use the straw to force the paint in different directions
Art Vocabulary:
Rhythm and Movement: Using elements such as color or shape to the suggestion of movement or motion
Arts Integration Connection:
Spider Painting can be a lesson in force. The harder the air is directed at the paint, the further the paint travels. Like Splatter Painting, it can also be used as a decorative element for paintings done in the classroom. The hair on an animal or a comet in the sky.


