Today’s visual art strategy is all about Stippling. Being a music person, trying to create art terrifies me. I can’t draw to save my life – even my 3 year old draws better than I do. So whenever I come across a visual art strategy that actually requires me to create something on paper using a drawing or painting tool, I usually run the other way. However, the Stippling technique is something even I can do, so I know it’s safe for anyone to use in the classroom without fear of “ruining” the art.
Stippling
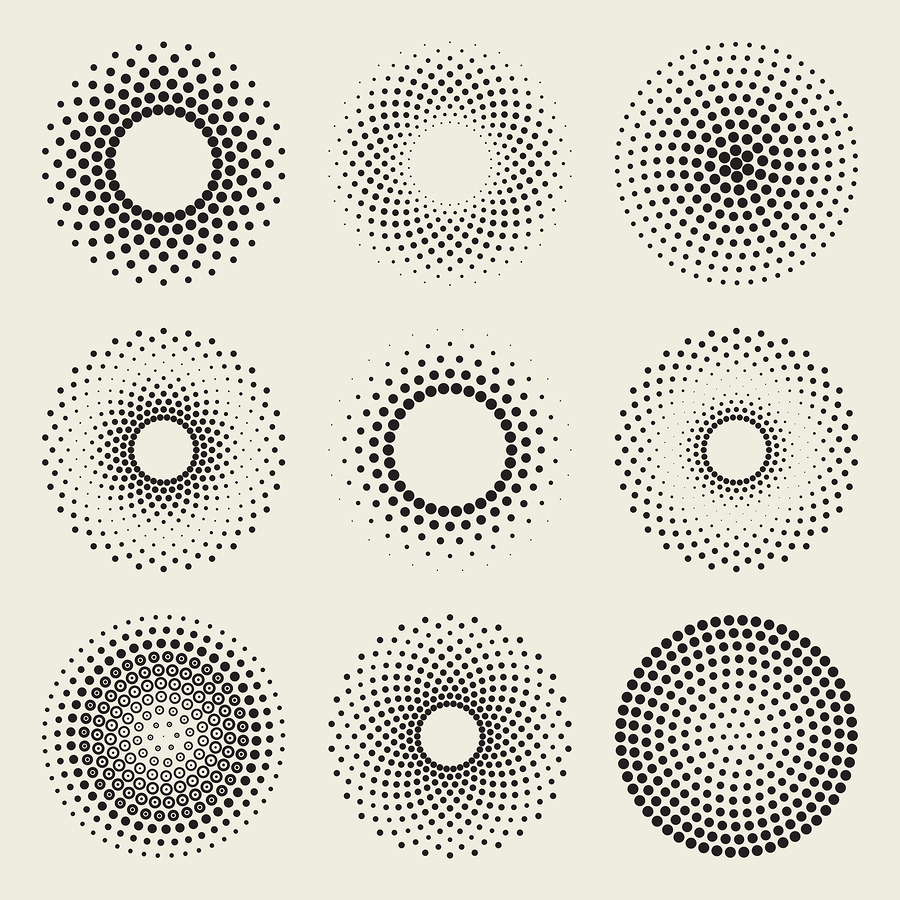
Stippling is an artistic process all based on the use of dots. You can use thick dots, thin dots, a variety of colors, space them out, bunch them together – whatever your heart desires in making your vision become a reality. Right away, I can see so many connections to statistics and graphing, as well as reading the image based on warm or cool colors. The possibilities are endless. Take a look at some of these images to get a good idea of what I’m talking about.

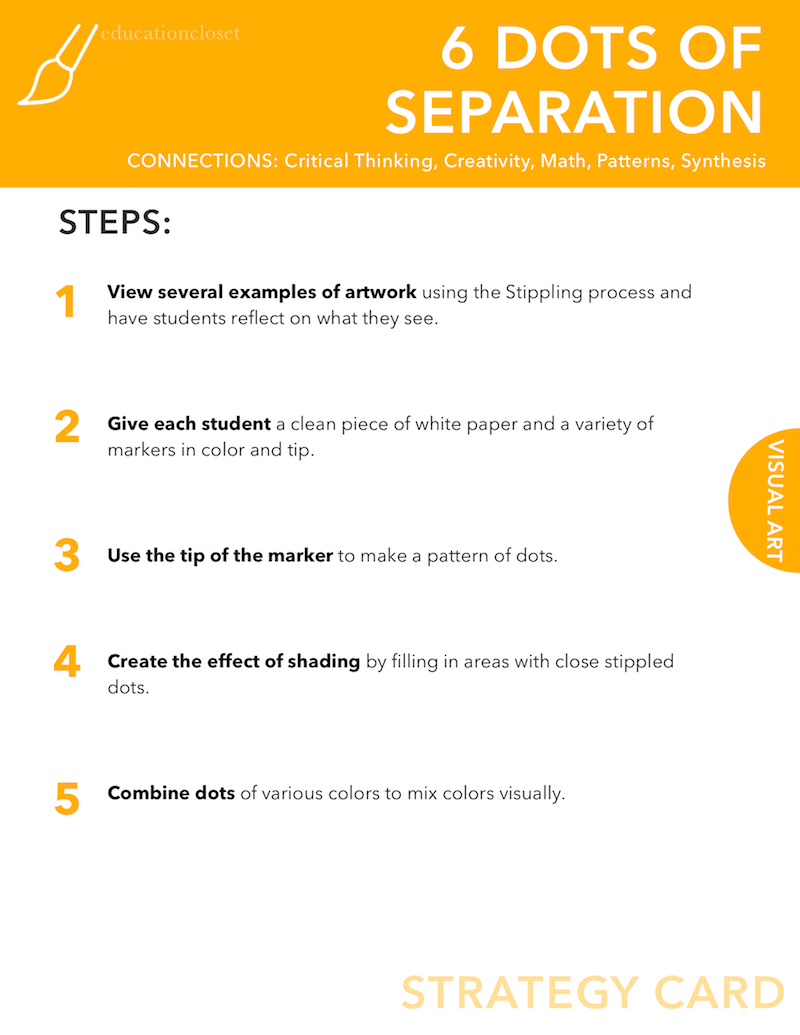
Here are the Steps:
1. View several examples of artwork using the Stippling process and have students reflect on what they see.
2. Give each student a clean piece of white paper and a variety of markers in color and tip.
3. Use the tip of the marker to make a pattern of dots.
4. Create the effect of shading by filling in areas with close stippled dots.
5. Combine dots of various colors to mix colors visually.
DOWNLOAD THIS CARD HERE
See? How easy is that? You could even combine that with our strategy from Tuesday and create a grid by which the dots can be used to create patterns or to graph information. What a great way to actually get our hands dirty with art and connect to so many Common Core Standards!


